
Welcome to our forum. A Message To Our New and Prospective Members . Check out our Forum Rules. Lets keep this forum an enjoyable place to visit.
Currently working on errors from the latest (SimplePress) forum update. Many issues have been resoled and others are being worked on. Thank you for your patience.
 Log In
 Register

 Topic RSS
 (0 votes)
Regular advisor
Regulars
 Offline


Give a Violin to Homer... and all you can say is D'oh!
 IMG_20150524_164550 by cluck2007, on Flickr
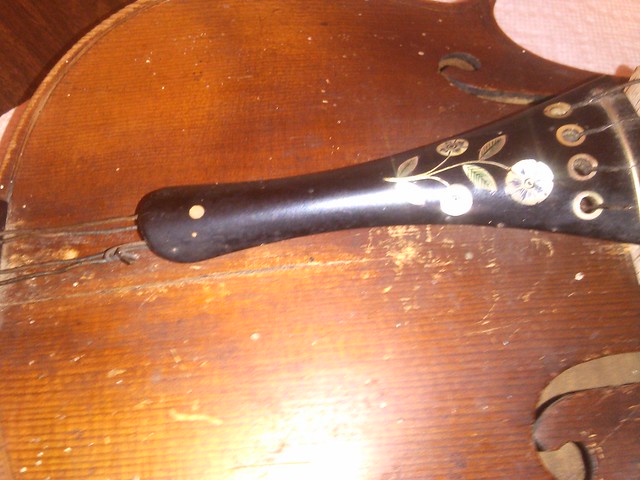
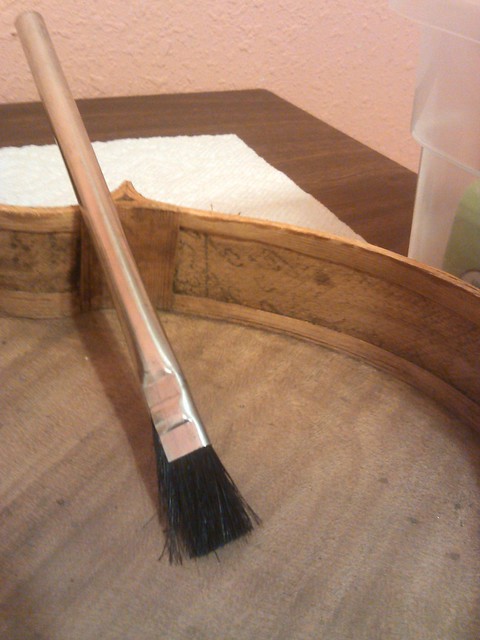
Was given this violin recently, and discovered it needed some work. I'll post a few pictures for starters.
 IMG_20150524_164355 by cluck2007, on Flickr
 IMG_20150524_164405 by cluck2007, on Flickr
 IMG_20150524_164430 by cluck2007, on Flickr
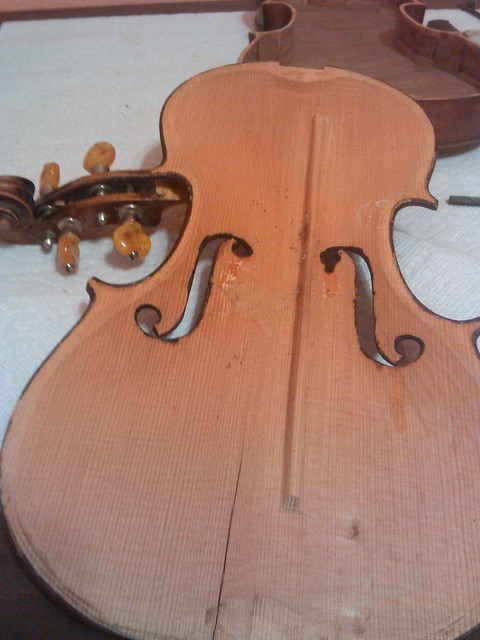
And here's where we are now at...
 IMG_20150524_190224 by cluck2007, on Flickr
Now to figure out what to do 🙂
Regular advisor
Regulars
Offline
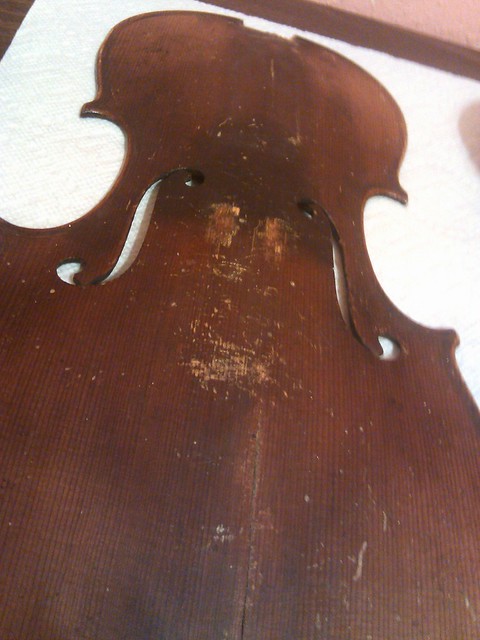
Figured I'd start at the top... or at least the crack on the top. Will have to look at what clamps I have, and what I'll need, yet alone the best type of glue for a crack like this.
 IMG_20150524_190453 by cluck2007, on Flickr
 IMG_20150524_191947 by cluck2007, on Flickr
Regular advisor
Regulars
Offline
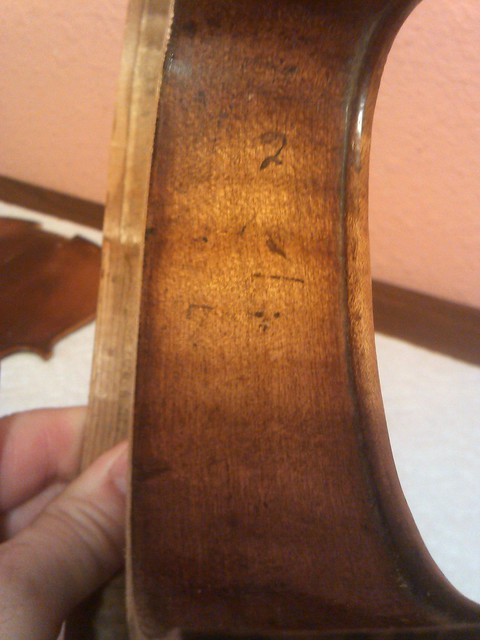
Only markings on the Violin are some on the inside, and two numbers on the outside. Not sure if they mean anything.
 IMG_20150526_123806 by cluck2007, on Flickr
 IMG_20150526_123821 by cluck2007, on Flickr
Regular advisor
Regulars
Offline
So many things to look up....
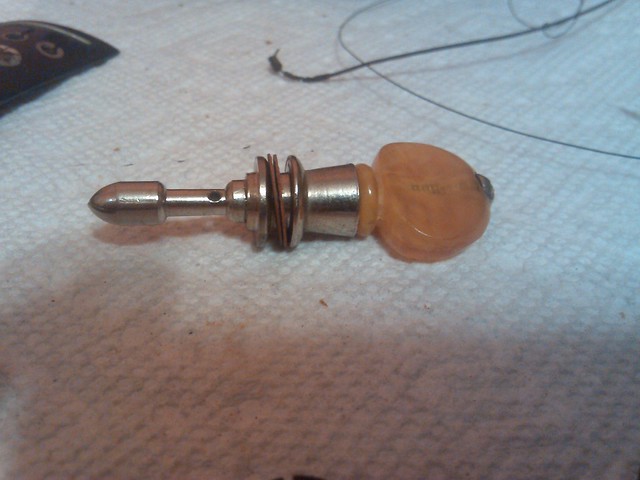
Anyone know much about this type of Peg and the general timeframe they were used?
 IMG_20150526_123920 by cluck2007, on Flickr

 Offline


I can't answer any of your questions, but that looks like an interesting fiddle. Will look forward to hearing more about its history and your progress restoring it.
When the work's all done and the sun's settin' low,
I pull out my fiddle and I rosin up the bow.


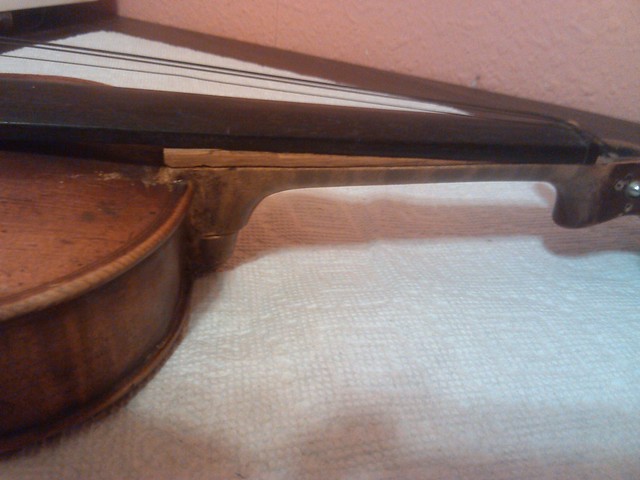
It looks great! ARe you going to work on it yourself? it seems to me there's an extra piece under the fingerboard, like a spacer, did that come with the violin, if it did, it looked like someone likes to play on high strings.
Those pegs looks like Caspari pegs to me. Caspari pegs are pegs design to use without fine tuners and make tuning easy. There's a screw at the top (end?) of the thumb piece and one could use a screw drive to tighten or loosen the peg (e.g. when the peg slips) . It's like an "pioneer" version of Knilling perfection pegs. If you were to replace those pegs with standard pegs, bushing the holes may be required. I believed it is patented in 1922 and became popular in the 50s and 60s.
the "2" on the rib could be a scratch?
Regular advisor
Regulars
Offline
The piece under the finger board has been removed. My guess is that it was used to raise the fingerboard up since the neck attachment point looks like it was a little off. That's just my guess... but after I scraped a lot of the excess glue off that area and dry fit the neck/fingerboard and top plate... it looked more like it should.
The screw on the end of the pegs is used to tighten the tension on the friction discs. Works just like the drag on a spinning reel. Now that I have a name for them, I'll go read up on them 🙂
Hoping to do most of the work myself... will see how the project progresses.
Regular advisor
Regulars
Offline
The more I research, the more I find that most would say this is not a repair for beginners. But I like a challenge... that's why I'm learning to play one of these things 🙂
Ordered a couple different clamps, some spruce cleats, and hide glue today to start with the crack on the top. Been polishing the back and ribs in the meantime. Really starting to look nice.
Priced what some of the things I am doing would cost at some of the local violin shops. The more I do, the more I see why they charge what they do... very time consuming and a lot of finesse required.
Will post some pics when my new tools arrive and I get busy.


 Offline


You will enjoy the instrument all the more this way. Good job.... Keep it up.
I look forward to seeing the finished product. 🙂
"The richest person is not the one who has the most,
but the one who needs the least."


