Welcome to our forum. A Message To Our New and Prospective Members . Check out our Forum Rules. Lets keep this forum an enjoyable place to visit.
Currently working on errors from the latest (SimplePress) forum update. Many issues have been resoled and others are being worked on. Thank you for your patience.
 Topic RSS


 (14 votes)
 Regulars
 Offline


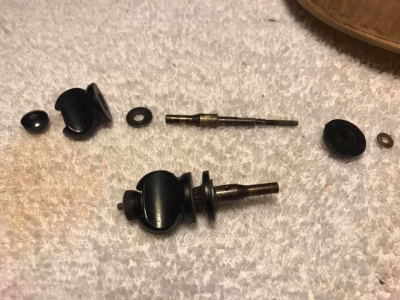
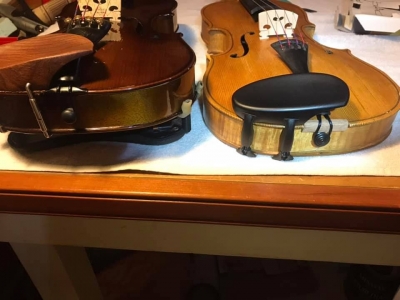
I'm guessing they are some variety of "geared pegs", but I've never seen anything like these.
Here are some that FiddlerShop sells.
Bob in Lone Oak, Texas
Regulars


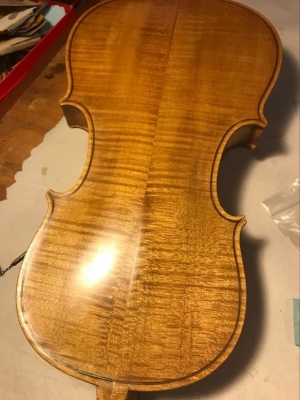

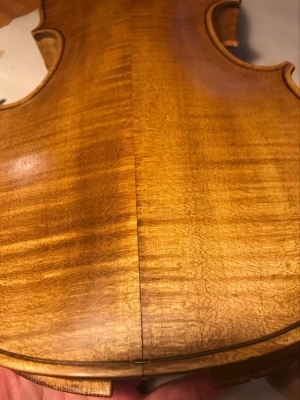




 Well found some exciting peg info. These are Becker patent pegs, patented in 1884 or 86. On them I found "patent applied for" so they seem to be over 136 years old. Cool!
I did a French polish which I LOVE! It gave a soft glow that highlights the beauty of the wood without it being so shiny.
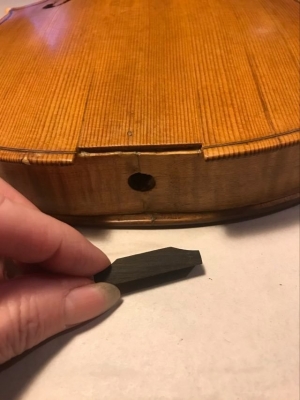
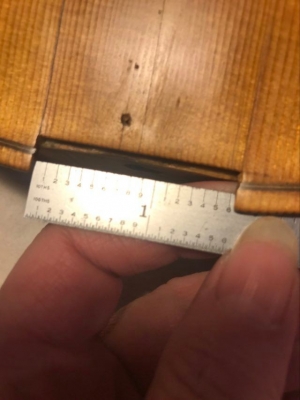
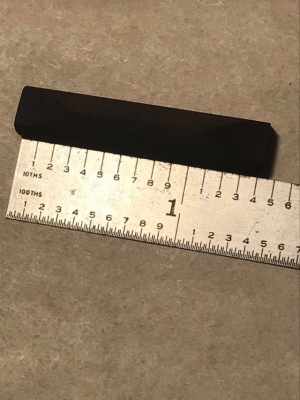
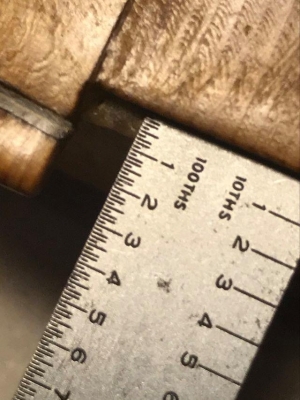
Now on to saddle woes! The space where the saddle goes is too big!
Opportunity is often missed because it wears suspenders and looks like hard work.
Regulars
 Offline


@Georganne -
Wow! You are amazing!
Looks like you'll be an expert by the time you finish this project. Definitely had more than your fair share of obstacles to learn from!
Very cool about the pegs - and love the finish.
I do have a question about the finish you did. I remember back years ago, when I did artwork for some interior decorators, one had some furniture that had a "French Polish" finish, but it was extremely glossy and deep. I was told told it was a very lengthy process of many layers. Did you find a special product to use?
Thanx again, for sharing all of this with us!

- Emily
Regulars
 Offline


The fiddle is coming along nicely. Nice finish.
Looking at your pictures it looks like the length (long side) of your saddle gap is around 1.6+ inches and somewhere around 0.3" or less.
This place sells a saddle blank that might be a closer fit than the one you have.
https://www.stewmac.com/luthie.....addle.html
Or maybe Fiddlershop can help you out with a blank that fits (with a bit of coaxing).
Bob in Lone Oak, Texas
Regulars


Mouse said
@GeorganneCongratulations, you get a DIY badge! Nice work.
Yay! How exciting. Thanks!
ELCB said
@Georganne -Wow! You are amazing!
Looks like you'll be an expert by the time you finish this project. Definitely had more than your fair share of obstacles to learn from!
Very cool about the pegs - and love the finish.
I do have a question about the finish you did. I remember back years ago, when I did artwork for some interior decorators, one had some furniture that had a "French Polish" finish, but it was extremely glossy and deep. I was told told it was a very lengthy process of many layers. Did you find a special product to use?
Thanx again, for sharing all of this with us!
- Emily
I did the French polish with Zinsser's Traditional Finish and Sealer, amber. I got it at Lowes...
I mixed about two tablespoons of varnish with about a teaspoon of alcohol. I didn't measure exactly. And I used olive oil. Then I used a tshirt square with a tiny bit of varnish and put alcohol on it to spirit off the oil afterwards. It was originally very shiny, too shiny for my taste But the spiriting off with alcohol removed some of that and gave it a nice satin finish.
Here is a nice quick video that shows how it's done. At minute 6, he shows how to apply the oil.
Bob said
The fiddle is coming along nicely. Nice finish.
Looking at your pictures it looks like the length (long side) of your saddle gap is around 1.6+ inches and somewhere around 0.3" or less.
This place sells a saddle blank that might be a closer fit than the one you have.
https://www.stewmac.com/luthie.....addle.html
Or maybe Fiddlershop can help you out with a blank that fits (with a bit of coaxing).
I'm really trying to do this without too much out of pocket cost (since I am currently unemployed). I called my semi local wood store and they have ebony that they sell by the pound. I don't need a pound obviously so hopefully he'll sell me 2 inches hahahha. I'll report back later if I get some, then I'll custom make my own saddle. Should be fun huh?
Opportunity is often missed because it wears suspenders and looks like hard work.
Regulars
 Offline


Regulars
 Offline


Regulars


stringy said
that finish is beautiful, love the flames, its incredible, can I ask a question, are the fingerboards the same size on all full size violins?
I didn't know the answer but it seems so. I know there are different thicknesses as I saw some youtubes where the finger board was very thick and needed to be thinned down. I measure 10.5" for all three fingerboards I have in the house.
Opportunity is often missed because it wears suspenders and looks like hard work.
Regulars


Georganne said
Ok here's where I need your help. Does anyone know what these types of pegs are called? I'm trying to do some research on them and don't even know what to look for. @Fiddlerman ?
Well I found info on a luthier board. Becker patent pegs, patented in 1884 or 86. Stamped on them is "Patent applied for" so I assume they are older then 1886. Wow that was pretty intimidating!
Opportunity is often missed because it wears suspenders and looks like hard work.
Regulars


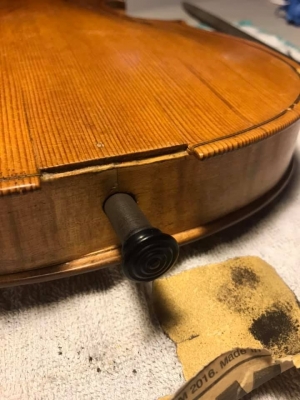
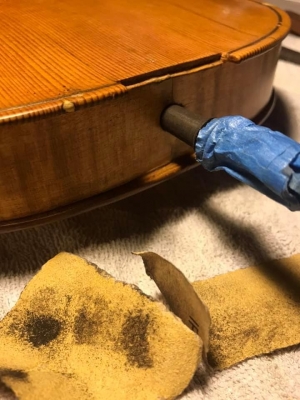
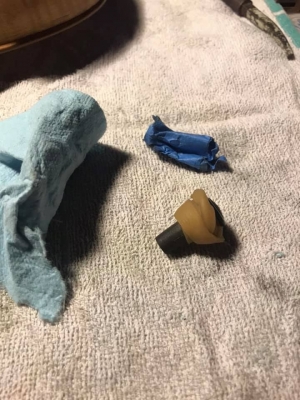
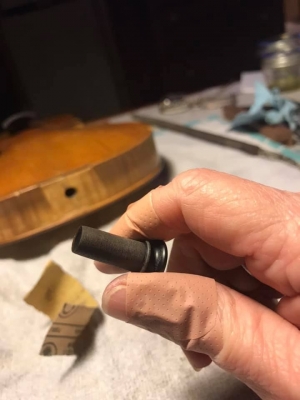
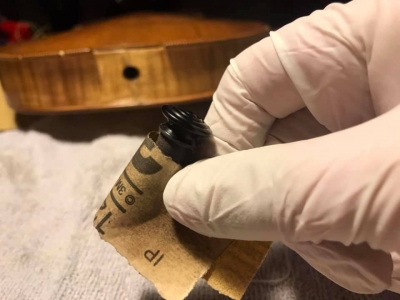
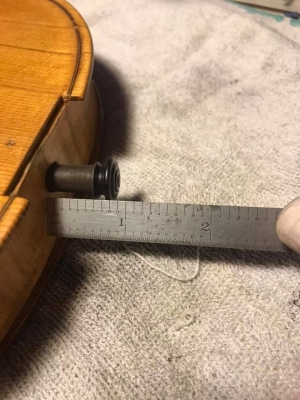
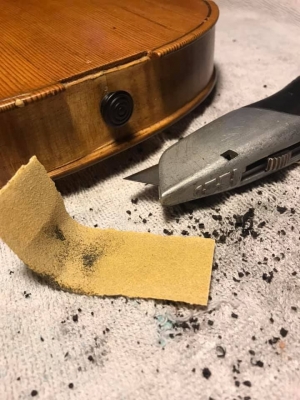
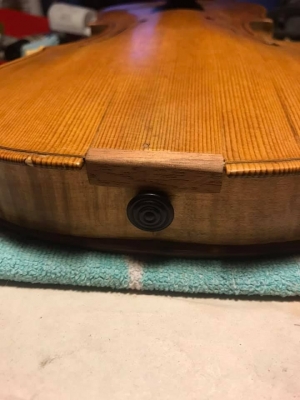
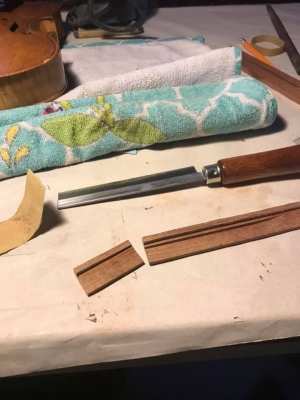
Glued it in but then had to carve it down some more so it didn't stick out so much at the end pin and round off the edge a bit. That part was actually pretty easy and so satisfying.
My kiddo is acting crazy in the background because he wants to be a Youtube star!
And once again, my text is not lining up with my photos correctly. I don't know why but I'll try and figure it out later!
Opportunity is often missed because it wears suspenders and looks like hard work.
Regulars
 Offline


@Georganne -

Pretty Fabulous, Georganne!
I'm sure you'll enjoy it much more after you put your shoulder rest on. (lol)
I'm curious, you bought strings to put on without knowing how this violin would sound after all your work - feel like you might want to try any other strings?
Celebration time!

Thanx for answering all my questions!
- Emily
Regulars


ELCBK said
@Georganne -
Pretty Fabulous, Georganne!
I'm sure you'll enjoy it much more after you put your shoulder rest on. (lol)
I'm curious, you bought strings to put on without knowing how this violin would sound after all your work - feel like you might want to try any other strings?
Celebration time!
Thanx for answering all my questions!
- Emily
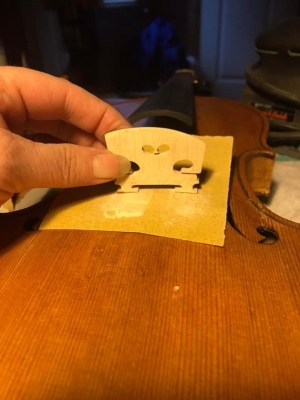
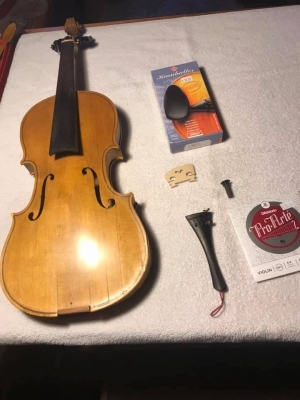
No, I've tried several strings over the years and really like these best. Oh yea, I also sanded the bridge a lot flatter then I am used to in order to play double stops easier. It took several days to get used to that but it only took this last week to adjust to it.
Opportunity is often missed because it wears suspenders and looks like hard work.
Regulars


I've just started on number two! It took a lot of time to double post here so if you want to follow my progress on this one, you'll have to go look at FB. I've made it public so you don't have to FB friend me.
Opportunity is often missed because it wears suspenders and looks like hard work.
Regulars
 Offline

@Georganne . Great job. I am a little late to coming on this thread. I have not seen these comments mentioned so I am bringing them up for your future adventures.
A twig is not the best material for making a cleat, particularly if you are applying glue on the end grain since glue is notorious for not sticking well to wood end grain. The grain of the cleat should ideally run 90 degrees from the direction of glued to wood to provide maximum strength. Cleats are generally reduced in height after being glued with a chisel, but your technique with a saw certainly worked.
Take particular care when gluing the neck block to the violin corpus, particularly regarding the back plate. The neck needs to be adjusted so that the fingerboard is centred on the front plate. Perhaps more important, it is possible to adjust the projection height at that time by means of the glue contact area between the back of the neck and the back plate button. A little goes a long way. I noticed that you needed to trim height off the bridge (I do not know if bridge was original or a replacement). In general, a violin will produce more sound when it has more projection.
Success is the progressive realisation of a worthy ideal. —Earl Nightingale.
Regulars


Irv said
@Georganne . Great job. I am a little late to coming on this thread. I have not seen these comments mentioned so I am bringing them up for your future adventures.A twig is not the best material for making a cleat, particularly if you are applying glue on the end grain since glue is notorious for not sticking well to wood end grain. The grain of the cleat should ideally run 90 degrees from the direction of glued to wood to provide maximum strength. Cleats are generally reduced in height after being glued with a chisel, but your technique with a saw certainly worked.
Take particular care when gluing the neck block to the violin corpus, particularly regarding the back plate. The neck needs to be adjusted so that the fingerboard is centred on the front plate. Perhaps more important, it is possible to adjust the projection height at that time by means of the glue contact area between the back of the neck and the back plate button. A little goes a long way. I noticed that you needed to trim height off the bridge (I do not know if bridge was original or a replacement). In general, a violin will produce more sound when it has more projection.
Yea twigs are what I have. I live in the middle of Alaska so can't run down to the luthiers. I did use a grinding wheel (tried the chisel first) and sandpaper on them after gluing them on. Not perfect, but what I can do....
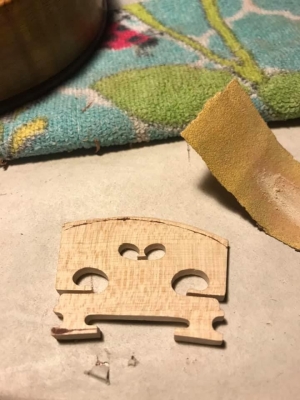
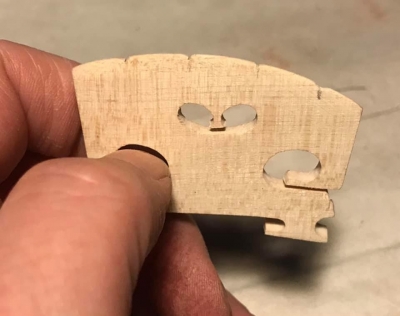
There was no bridge so just made one from a blank. I had my husband help me glue the neck on so we could be sure to get it straight, lined it up with a yard stick.
Opportunity is often missed because it wears suspenders and looks like hard work.
Regulars
 Offline

@Georganne . Building code designated construction lumber in my state is fir. The next state over, Massachusetts, uses spruce. Either species would make a good cleat, although spruce generally accepted in the trade.
If you must use native wood, I would attempt to find a somewhat larger branch so that end grain is avoided.
An examination of the term end grain. When a tree is cut down, the exposed stump is end grain. The cell structure is like an assortment of drinking straws, which allows the flow of fluids from the ground to the leaves (and back). Glue is readily absorbed in the end grain and is not available to create a strong joint with another piece of wood.
Success is the progressive realisation of a worthy ideal. —Earl Nightingale.
1 Guest(s)


 Log In
 Register


