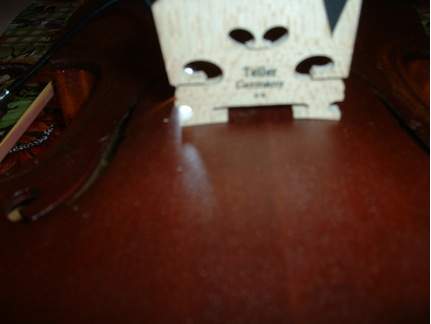
Take a piece of paper and lay it on the top of the violin where the bridge goes. Place the bridge on the violin in its place and using a pencil, I use a carpenter pencil with the end flat, scribe a line on both sides of the feet. This will give you the angle you need for the bridge feet. Slowly cut the feet down to this line making the feet slightly thicker than 1/16 inch. When finished, place the bridge on top of the violin, at the proper angle, ninety degrees at the back. Check the fit by shining a light under the feet. If no light, then it is fit and ready for the next step. If light is seen you can take some fine sandpaper with the grit side up and slowly move the bridge across the sandpaper in one direction only, to avoid rocking the bridge. Check it often for a fit with the light. When fitted it stand on its own.
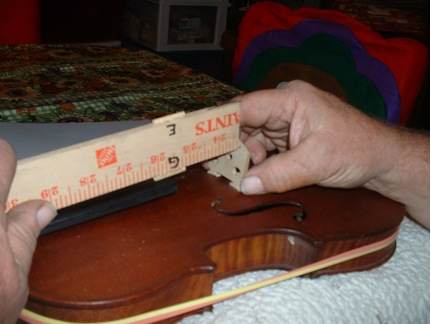
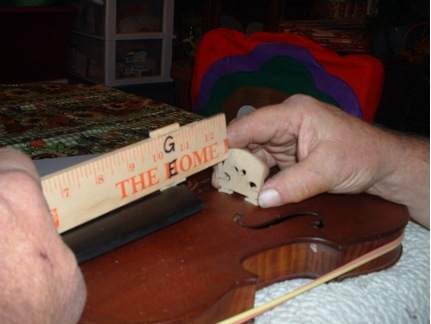
Using a yard stick cut down to 12 3/4 inches or 325 mm, at 10.5 inches glue a 1 inch piece of 1/8 dowel. On the other side glue a 1 inch piece of 3/16 inch dowel. The 1/8inch side will be for the E string and the 3/16 inch side will be for the G String.
I taped lead from a mechanical pencil to the stick because I could not hold the stick the bridge and make a pencil mark while taking a picture. You can use a rubber band to hold the stick in place while making a mark.
Holding the yard stick at the G string slot on the nut and the 3/16 inch dowel at the end of the fingerboard where the G string would be, stand the bridge up in its place and draw a mark on the bridge under the yardstick where it touches the bridge.
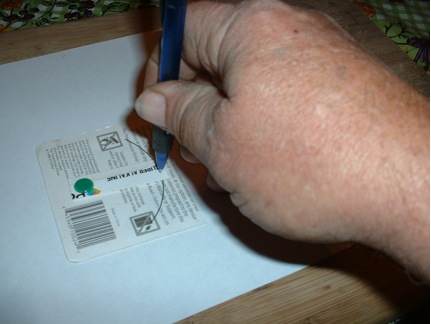
Make a curve template by using a compass or a piece of card stock and a tack, drawing an arch with a 42 mm or 1 11/16 inch radius or use your old bridge as a template.
Holding the template so it is on both marks drawn on the bridge, draw the curve onto the bridge.
Using a knife trim the bridges’ feet down to the mark, always cutting from the center to the edge. If you try to cut across the top of the bridge there is a great risk of chipping off the top of the bridge.
Now you have to thin out the bridge at the top and make it the same thickness all along the edge, 3/32 of an inch or slightly less than 1/16 of an inch. This can be done with a knife or sandpaper but be careful not to round it. You want to end up with straight looking lines. Only take wood away from the side of the bridge that faces the fingerboard. Leave the side with the label toward the tailpiece straight and flat.
The last step is to cut the string slots. Since this is usually done with string files a small V shaped notch will do just fine.
The proper string spacing is 15/32 or 12 mm. On the template you just made make four marks spaced 15/32 or 12 mm apart. Make a line between the two middle lines. Now on your bridge make a line in the middle of the bridge. Line up the bridge middle line with the template middle line and mark your string positions on the bridge. Now cut your string slots, lubricate them with a pencil and you’re done.
The bridge can be tuned by removing wood here and there but for the most part this will do just fine.
I can’t string up the violin and show it to you finished because the neck is only held on with rubber bands and the finger board with two drops of hot glue. The neck was broken off this violin so I am repairing the neck notch and replacing the neck from a violin with a completely destroyed body.
by: Kevin M. Healy


